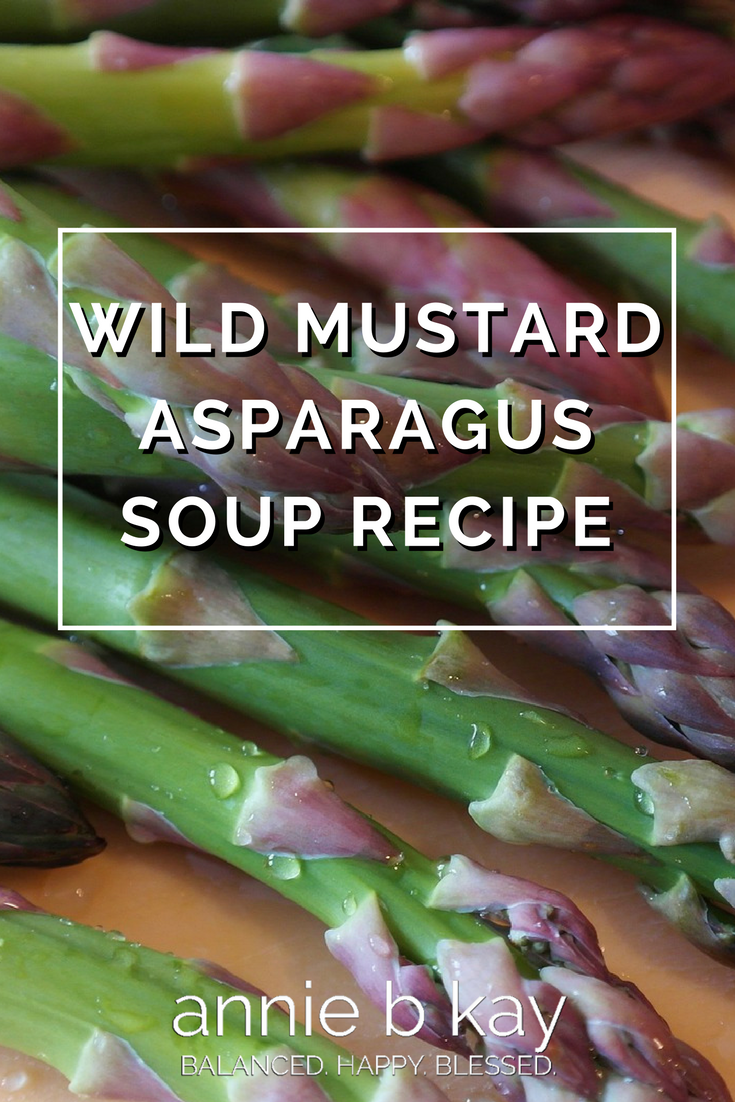
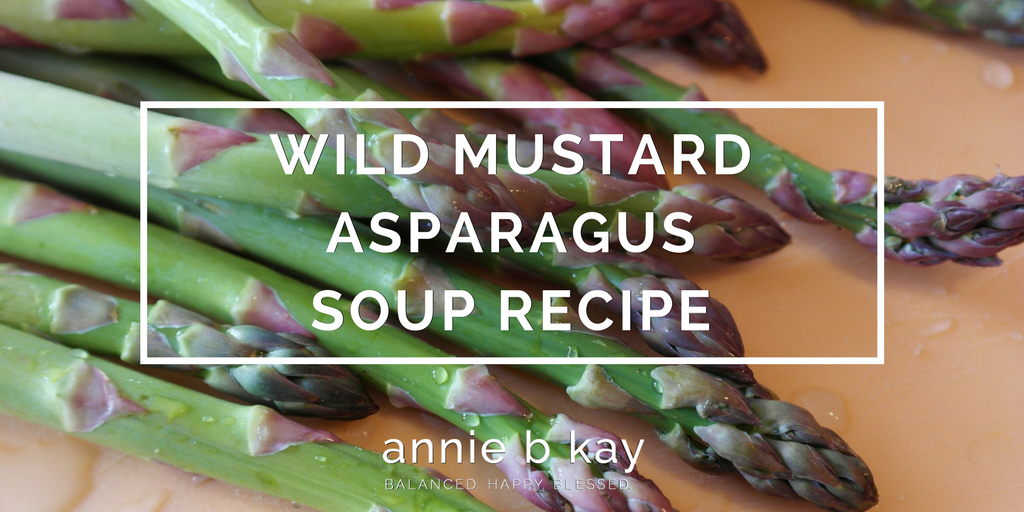
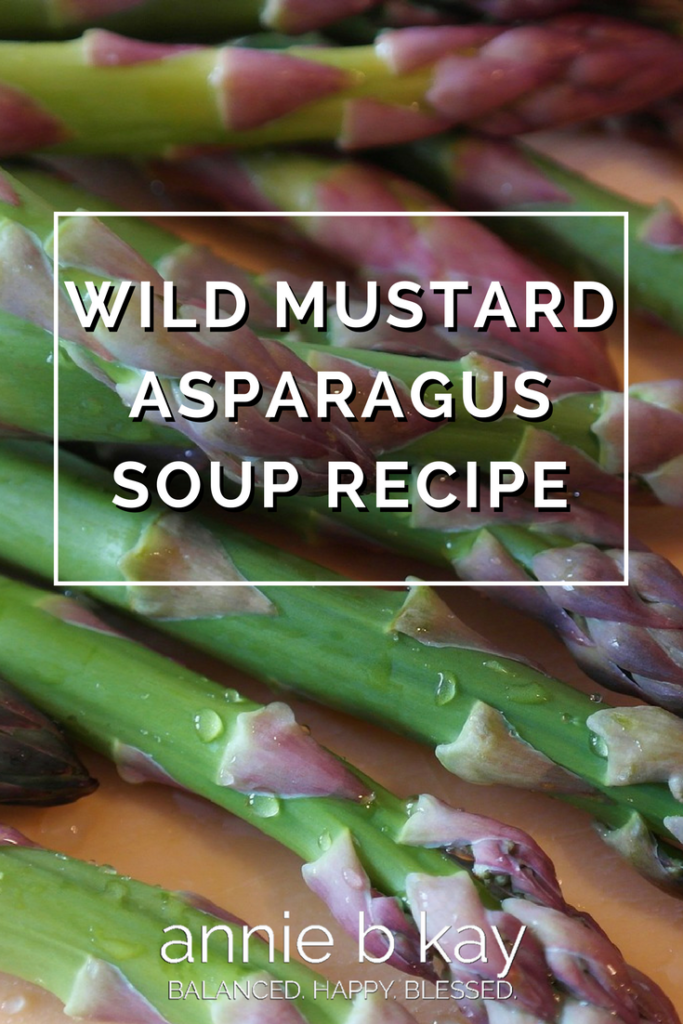
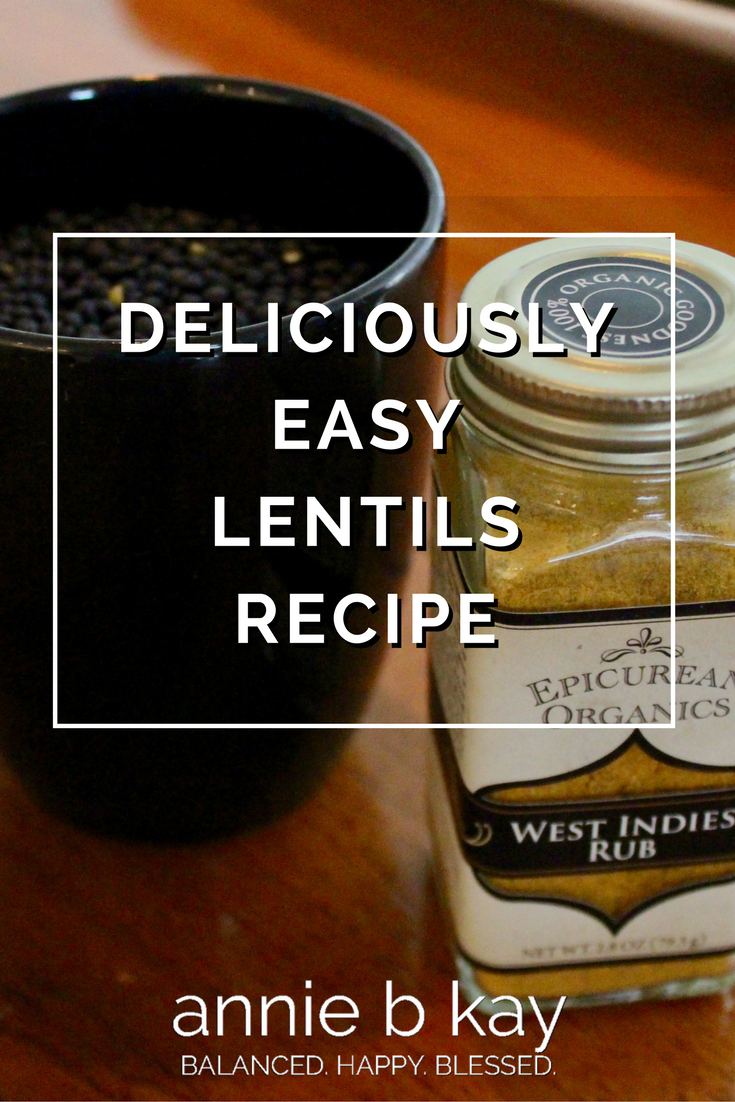
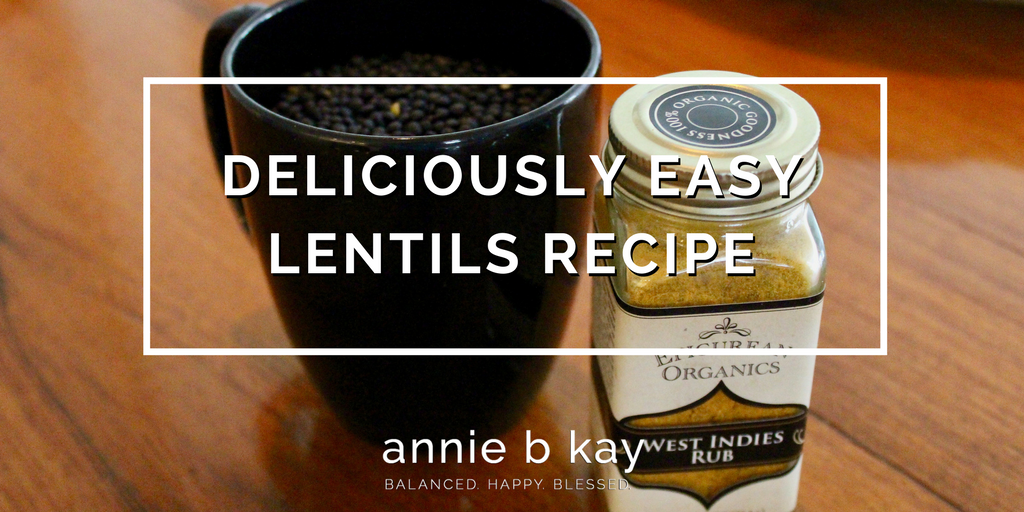
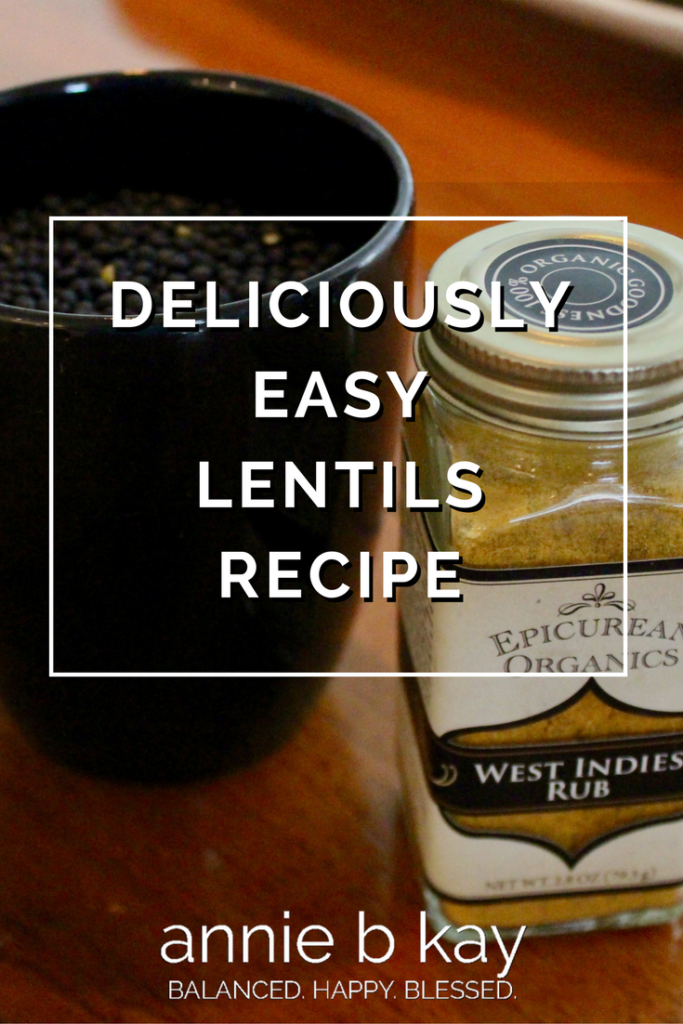
Elderberry Ginger Cider Recipe

Elderberry Ginger Cider Recipe

Elderberry Ginger Cider Recipe by Annie B Kay - anniebkay.com
My boon of elderberry enabled me to, in addition to making tons of elderberry syrup, make elderberry ginger cider – a variation on fire cider. For this one, I rely on ginger and honey as a base and kept it simple yet strong. It’s delicious and I’ll use it the way you would fire cider – take a shot during cold and flu season to warm up and keep the creeping crud away.

If you are looking for an Elderberry Syrup recipe, I have one for you!  Click HERE!

Elderberry Ginger Cider Recipe

Elderberry Ginger Cider Recipe

My elderberry ginger cider is a variation on fire cider. Use it the way you would fire cider – take a shot during cold and flu season to warm up and keep the creeping crud away.
Course Drinks
Keyword Elderberry, Elderberry Ginger Cide
Prep Time 10 minutes
Cook Time 20 minutes

Equipment

  • Medium Saucepan

Ingredients

  • 4 cups fresh elderberries clean and free of stems
  • 2 slivers of fresh peeled ginger about 1 Tsp
  • 1/2 onion chopped
  • 3 garlic cloves
  • 1 cup apple cider vinegar
  • 2 Tbsp local honey

Instructions

  • Warm elderberries in a medium saucepan for 15-20 minutes over medium-low heat. Let cool.
  • Place ingredients in a clean bottle.
  • Place top on the bottle, and mix by inverting the bottle several times. Make sure the liquid covers the berries
  • Leave in a cool dry place for six weeks, inverting the bottle to mix every 3 or 4 days.
  • Remove elderberries from the cider.

Notes

The cider is the elixir, but you might use the elderberries in a pickle also.

Elderberry Ginger Cider Recipe by Annie B Kay - anniebkay.com

Pinterest

Roasted Vegetables – Healthy or Not Healthy?

Roasted Vegetables – Healthy or Not Healthy?

Roasting vegetables – baking them with a drizzle of olive oil until they have a toasty color and flavor – is a mainstay of my fall and winter kitchen. I give my tomatoes and onions a light roast before pureeing them into soups and sauces and love the sweet roast flavor.

Is roasting vegetables a healthy way to eat them? There has been some attention to the downsides of charring meats and vegetables on the grill – is roasting in that category?

It depends. My favorite nutrition answer!

If you roast your vegetables to a deep crispy crunch, then well yes, you’re roasting the nutrients out and possibly creating some less-than-healthful new things that your liver will need to contend with. Too, if you are roasting over high heat – at 425F, for example, you will want to be aware of the type of oil you use. Unrefined oils, like some olive oils and certainly things like flax oil, have low smoke points, meaning that the oil begins to break down quickly at a fairly low temperature.
Here are a few tips for nutritious roasting:

  1. Choose a higher smoke point oil. Oils like grapeseed, lighter olive oils and refined oils have higher smoke points and won’t burn as easily. Coconut oil and ghee tend to be on the higher smoke-point end too.
  2. Consider lower-temp roasting. I find that roasting vegetables at 325F for 25-40 minutes gives as much roasting flavor as I ever desire. Then I can use my flavorful olive oils, there isn’t oil breakdown (you can sometimes tell by the smokiness – if you are using a low smoke point oil and use a higher roasting temp, that billow of smoke tells you that you are learning this lesson).
  3. Use your nose and common sense. Burned oils lose their nutritional benefits. If you enjoy roasting, go for it, but wean yourself off crispy charred vegetables, and enjoy the light toasting instead. Heat does destroy some nutrients. Some nutrients, however, are actually more available once they’ve been heated.
  4. Eat your vegetables prepared a variety of ways – steamed (greens), sautéed (onions and greens), roasted (tomatoes, root vegetables) and not cooked at all (avocados, carrots). That way you’ll enjoy a full range of flavor and the nutrition advantages of each method.

In the end, chef knows thyself. If you (like I) am one who knows two stovetop burner settings – high and off – then get to know this idea of the smoke point. If you put the pan on the stove, turn it to high, pour in the oil and wait until it smokes – get yourself a bottle of high-temp grapeseed oil.
Spectrum oil used to have a great chart of smoke points, but I see they no longer have it on their site. Here is one to take a look at, and here is another.

For my roasted tomato sauce, I roasted piles of tomatoes (rinsed, sliced and cored when woody), an onion and a head of garlic, all drizzled with olive oil, at 325F for 25 minutes. Then I squeezed the garlic cloves out of their husks and blended everything. I had the most delicious soupy sauce – with seeds! – that we will enjoy all winter!

Deliciously Easy Lentils Recipe

Deliciously Easy Lentils Recipe

Deliciously Easy Lentils Recipe by Annie B Kay - anniebkay.com
If you have high cholesterol and don’t want to go on medication, beans are your friends. Studies have shown that eating beans a few times weekly can help lower LDL (the blood cholesterol most closely associated with heart disease). Actually, if you want to control your weight and not eat a lot of meat, beans are your friends.

I’ve been experimenting with spice blends over the last few seasons and if you are a fan of flavor but don’t want to purchase lots of expensive spices to mix and experiment with, this might be your flavor hack (shortcut). If you want to try lentils for their health benefits but haven’t liked them so far, this might be your recipe. It’s a snap. Tasty.

I’ve been using Mountain Rose Herb’s spice blends – I particularly like 5 Spice (which gives a Chinese flavor) and West Indies blends. They have nice clean fresh spices (not to mention lots of other goodies if you are herbal-inclined). Warning – their website is an herbal and culinary wonder-emporium…you may spend more time there than you intend.

Deliciously Easy Lentils Recipe

Course Dinner, Lunch, Side Dish

Equipment

  • Medium Saucepan

Ingredients

  • 1 cup lentils I used some lovely black lentils
  • 1 large onion chopped
  • 2 Tbsp olive oil
  • 2-3 Tbsp spice blend of your choice
  • 2-3 cups water

Instructions

  • Pour oil into a medium saucepan over medium heat, and add 1 Tbsp spice and onion.
  • Sauté for 5-6 minutes until onions are translucent.
  • Add lentils, water and remainder of spice.
  • Cover and simmer for 25-35 minutes, until lentils are desired softness.
  • Enjoy.


Deliciously Easy Lentils Recipe by Annie B Kay - anniebkay.com

Pinterest

Potato Cauliflower Mash Recipe

Potato Cauliflower Mash Recipe

Potato Cauliflower Mash Recipe by Annie B Kay-anniebkay.com
Potato head? Me too. Will work for mashed potatoes. While I think white potatoes have been much maligned in the era of glycemic (the degree to which foods act like sugar) awareness, many of us will overdo them left to our own devices. Enter cauliflower, that healthy brassica with the dubious distinction of, when well cooked and mashed, filling in for its starchier cousin the white potato. This is a bit of a have-your-cake-and-eat-it-too recipe. Here is a simple recipe using both spring red potatoes and plenty of cauliflower, along with water-carmelized onions. If you have some fresh green herbs, like chives, rosemary, or sage, that would make a lovely addition.

Ingredients

  • 1 pound spring red potatoes – 1-2″ diameter, washed and sliced
  • 1/2 yellow (Spanish) onion, chopped and skin removed
  • 1 medium head cauliflower, washed, flowers separated or sliced
  • 1 Tbsp Extra-virgin olive oil Dollop plain grass-fed yogurt
  • Black pepper and sea salt (less is more of any type of salt) to taste

Directions

  1. Water-brown onions. Place chopped onions in a heavy skillet (cast iron is great), with 2-3 Tbsp water, at med-high heat. As the water dissipates, add another couple Tbsp, tossing so as to slowly brown the onions without burning them. When they are light golden brown (please don’t brown too much- browning is for taste, not health), remove from heat and put aside.
  2.  Boil spuds. Place sliced potatoes in a med pot with water to cover and bring to a boil, then lower heat to simmer. Once potatoes are soft when pierced with a fork, remove, drain (potato water is a great soup-stock, if you’re organized enough to take advantage of that), and set aside.
  3. Water-saute cauliflower. Place cauliflower in the skillet you’ve cleaned after browning your onions, along with a few Tbsp water. Water saute over medium heat until soft.
  4. Mash with olive oil. Place cooked potatoes, browned onions, and cooked cauliflower in a large bowl. Drizzle olive oil, and mash with a strong fork, potato masher, or pastry blender (a handy little kitchen tool).
  5. Serve. Top with a dollop of grass-fed yogurt, and salt and pepper as needed. Sprinkle with fresh herbs if you have them. This is a great replacement for regular mashed potatoes.

Potato Cauliflower Mash Recipe by Annie B Kay-anniebkay.com

Pinterest

Spicy Corn and Black Bean Soup Recipe

Spicy Corn and Black Bean Soup Recipe

Spicy Corn and Black Bean Soup Recipe by Annie B Kay - anniebkay.com
I love black bean soup, and this recipe loves me (and you) too with nutrient dense vegetables, lime, nutmeg, pepper and chili for a touch of heat. And of course black beans, a fiber-protein power combo. This recipe makes a flavorful thick soup perfect for a snowy day.

I live with an unapologetic carnivore, so the addition of uncured bacon (which at least eliminates nitrites) or turkey bacon vs going for a vegan version (my preference for mind and body) is always a weighty decision. For this go-round, as my husband and I have been doing some happy-lovely bonding lately, it’s bacon!  I used 3 trimmed slices of Applegate naturals uncured Sunday bacon. This recipe would still be thick and flavorful in it’s vegan version if you skip the bacon and sauté the vegetables in olive oil. I also used Full Circle organic vegetable broth as I’m just getting into the soup swing and don’t have my own made yet.

All vegetables are organic – important for these particular veggies as several of them are on the dirty dozen list.

Spicy Corn and Black Bean Soup Recipe

Course Dinner, Lunch, Main Course, Soup
Prep Time 45 minutes
Cook Time 2 hours
Servings 4

Ingredients

  • 3 slices uncured bacon or turkey bacon trimmed of fat and sliced (optional - for a vegan version, sauté vegetables in 1 Tbsp olive oil over low heat)
  • 4 med stalks of celery tops on, chopped
  • 4 med carrots chopped
  • 1 red onion chopped
  • 1/2 spanish onion chopped
  • 1 3/4 cups organic black beans soaked overnight, rinsed several times
  • 2 cups vegetable stock
  • 4-6 cups clean water
  • 1 cup frozen organic corn
  • 1 small bunch fresh cilantro
  • 1-2 tsp ground nutmeg
  • 1-2 tsp fresh ground black pepper
  • juice of 1/2 lime
  • chili pepper heat to taste - I used a Tbsp Sambal Oelek a Thai chili paste - make sure you get one without sulfites if you are sensitive

Instructions

  • Toss bacon into heavy soup pot, add onions, carrots, celery and simmer over medium heat, stirring occasionally, until onions are soft and slightly golden - about 10 minutes. If you are skipping the bacon, sauté the above in a Tbsp of olive oil.
  • Add black beans, stock, nutmeg, black pepper and water. Simmer until beans are soft - 1-2 hours.
  • Add lime juice, corn and half of chopped cilantro.
  • Add chili to taste: add it slowly and taste until you reach desired heat. You can always make your soup more spicy, but once you overdo it, sorry you've got practice in tolerating extra heat.
  • Simmer all for another 10 minutes, top with remaining cilantro and enjoy warm.
  • Freezes well.

I would say the secret to this soup is the flavor combo of nutmeg, lime and chili – yum. What are your favorite ingredients for a black bean soup?
Spicy Corn and Black Bean Soup Recipe by Annie B Kay - anniebkay.com

Pinterest

Ashwagandha Sesame Oil

Ashwagandha Sesame Oil

Ashwagandha Sesame Oil by Annie B Kay - anniebkay.com
Tis the season to begin to think about making my fall batch of Ashwagnada sesame oil to warm our way through the fall.
Bows to my colleagues in the Kripalu School of Ayurveda (KSA). Several years ago I got to sit in on part of their training for Ayurveda Health Counselors and got a lovely intro to the Ayurveda way of herbs from Rosie Mann and the KSA faculty.
My husband and I both love this oil, and he has noticed how it is soothing and quiets his mind like it did mine the first time I practiced abhyanga (Ayurvedic oil self-massage) with it during my training. It does have a musky manly scent in sesame oil. We rub it on our feet at bedtime, and more widely when our minds get chattering too incessantly and we have time to relax (it can be a sedative, so I haven’t tried it on a workday yet).

Ashwa…what?IMG_0885

Ashwagandha is a root used in a number of Ayurvedic preparations. It’s a little famous for its aphrodisiac properties, but it is also calming and strengthening (ashwagandha means horse-smell in Sanskrit, after the musky scent of the root itself). Vata-pacifying, it is great for both my husband and I as we enter our hopefully wise Vata years of life.

Ashwagandha Sesame Oil Recipe

Ingredients

  • 1/2 cup dried ashwagandha root
  • 8 cups filtered water
  • 2 cups organic sesame oil

Directions

IMG_0887You will need a strainer and cheesecloth, as well as a medium-large saucepan and a container for the oil.
1. Gather all ingredients and bless them. I say a little prayer over them like the one my teacher Pam taught me, then ask the root to bless us with its healing gifts.
2. Pour water into the saucepan, and add ashwagandha root. Gently stir clockwise (only clockwise) with a wooden spoon or whisk.
3. Heat medium-low until reduced to 2 cups. This takes 2-3 hours. There is a point where the ashwagandha will thicken into the fluid – the texture will shift.
I like to let my botanical concoctions spend some time on the alter. Prayers, alters, it is all about infusing what I am making with love and intentions.
IMG_09274. Rinse saucepan. Strain the fluid through a sieve, then strain several additional times through a cheesecloth until you have a thick fluid.
5. Pour this mixture back into the saucepan, and add sesame oil. Heat at low-medium, occasionally gently stirring clockwise. Again, you will see the oil change as it absorbs the ashwagandha root. I found it became richer and a smidgen cloudy (but, if I had strained more thoroughly it may be more rich yet clear)…the batch I have from the experts is more clear.
6. Once you see the oil change (this took about an hour), let it cool, then strain the oil off of the remaining root-water, into a clean glass jar.
7. Enjoy as a daily oil massage (I would do a test on the weekend!), or rub on your feet and/or top of your head before bed.
Namaste!
Ashwagandha Sesame Oil by Annie B Kay - anniebkay.com

Pinterest