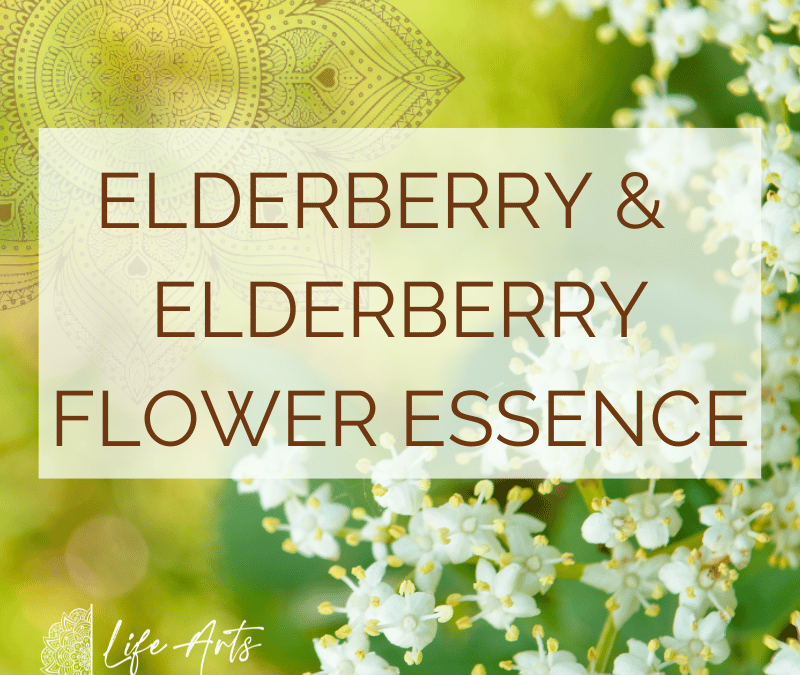
Elderberry and Elderberry Flower Essence: Heal with Nature’s Wisdom
The hustle and bustle of modern life can easily disconnect you from the grounding embrace of nature. In this chilly third quarter of the wheel of the year (aka Fall & early Winter in the Northern Hemisphere) elderberry and elderberry flower essence help you reconnect with that embrace.
Here’s your invitation to a journey exploring the healing gifts of elderberry and its often-overlooked counterpart, elderberry flower essence.
Nutritional Health Benefits of Elderberry
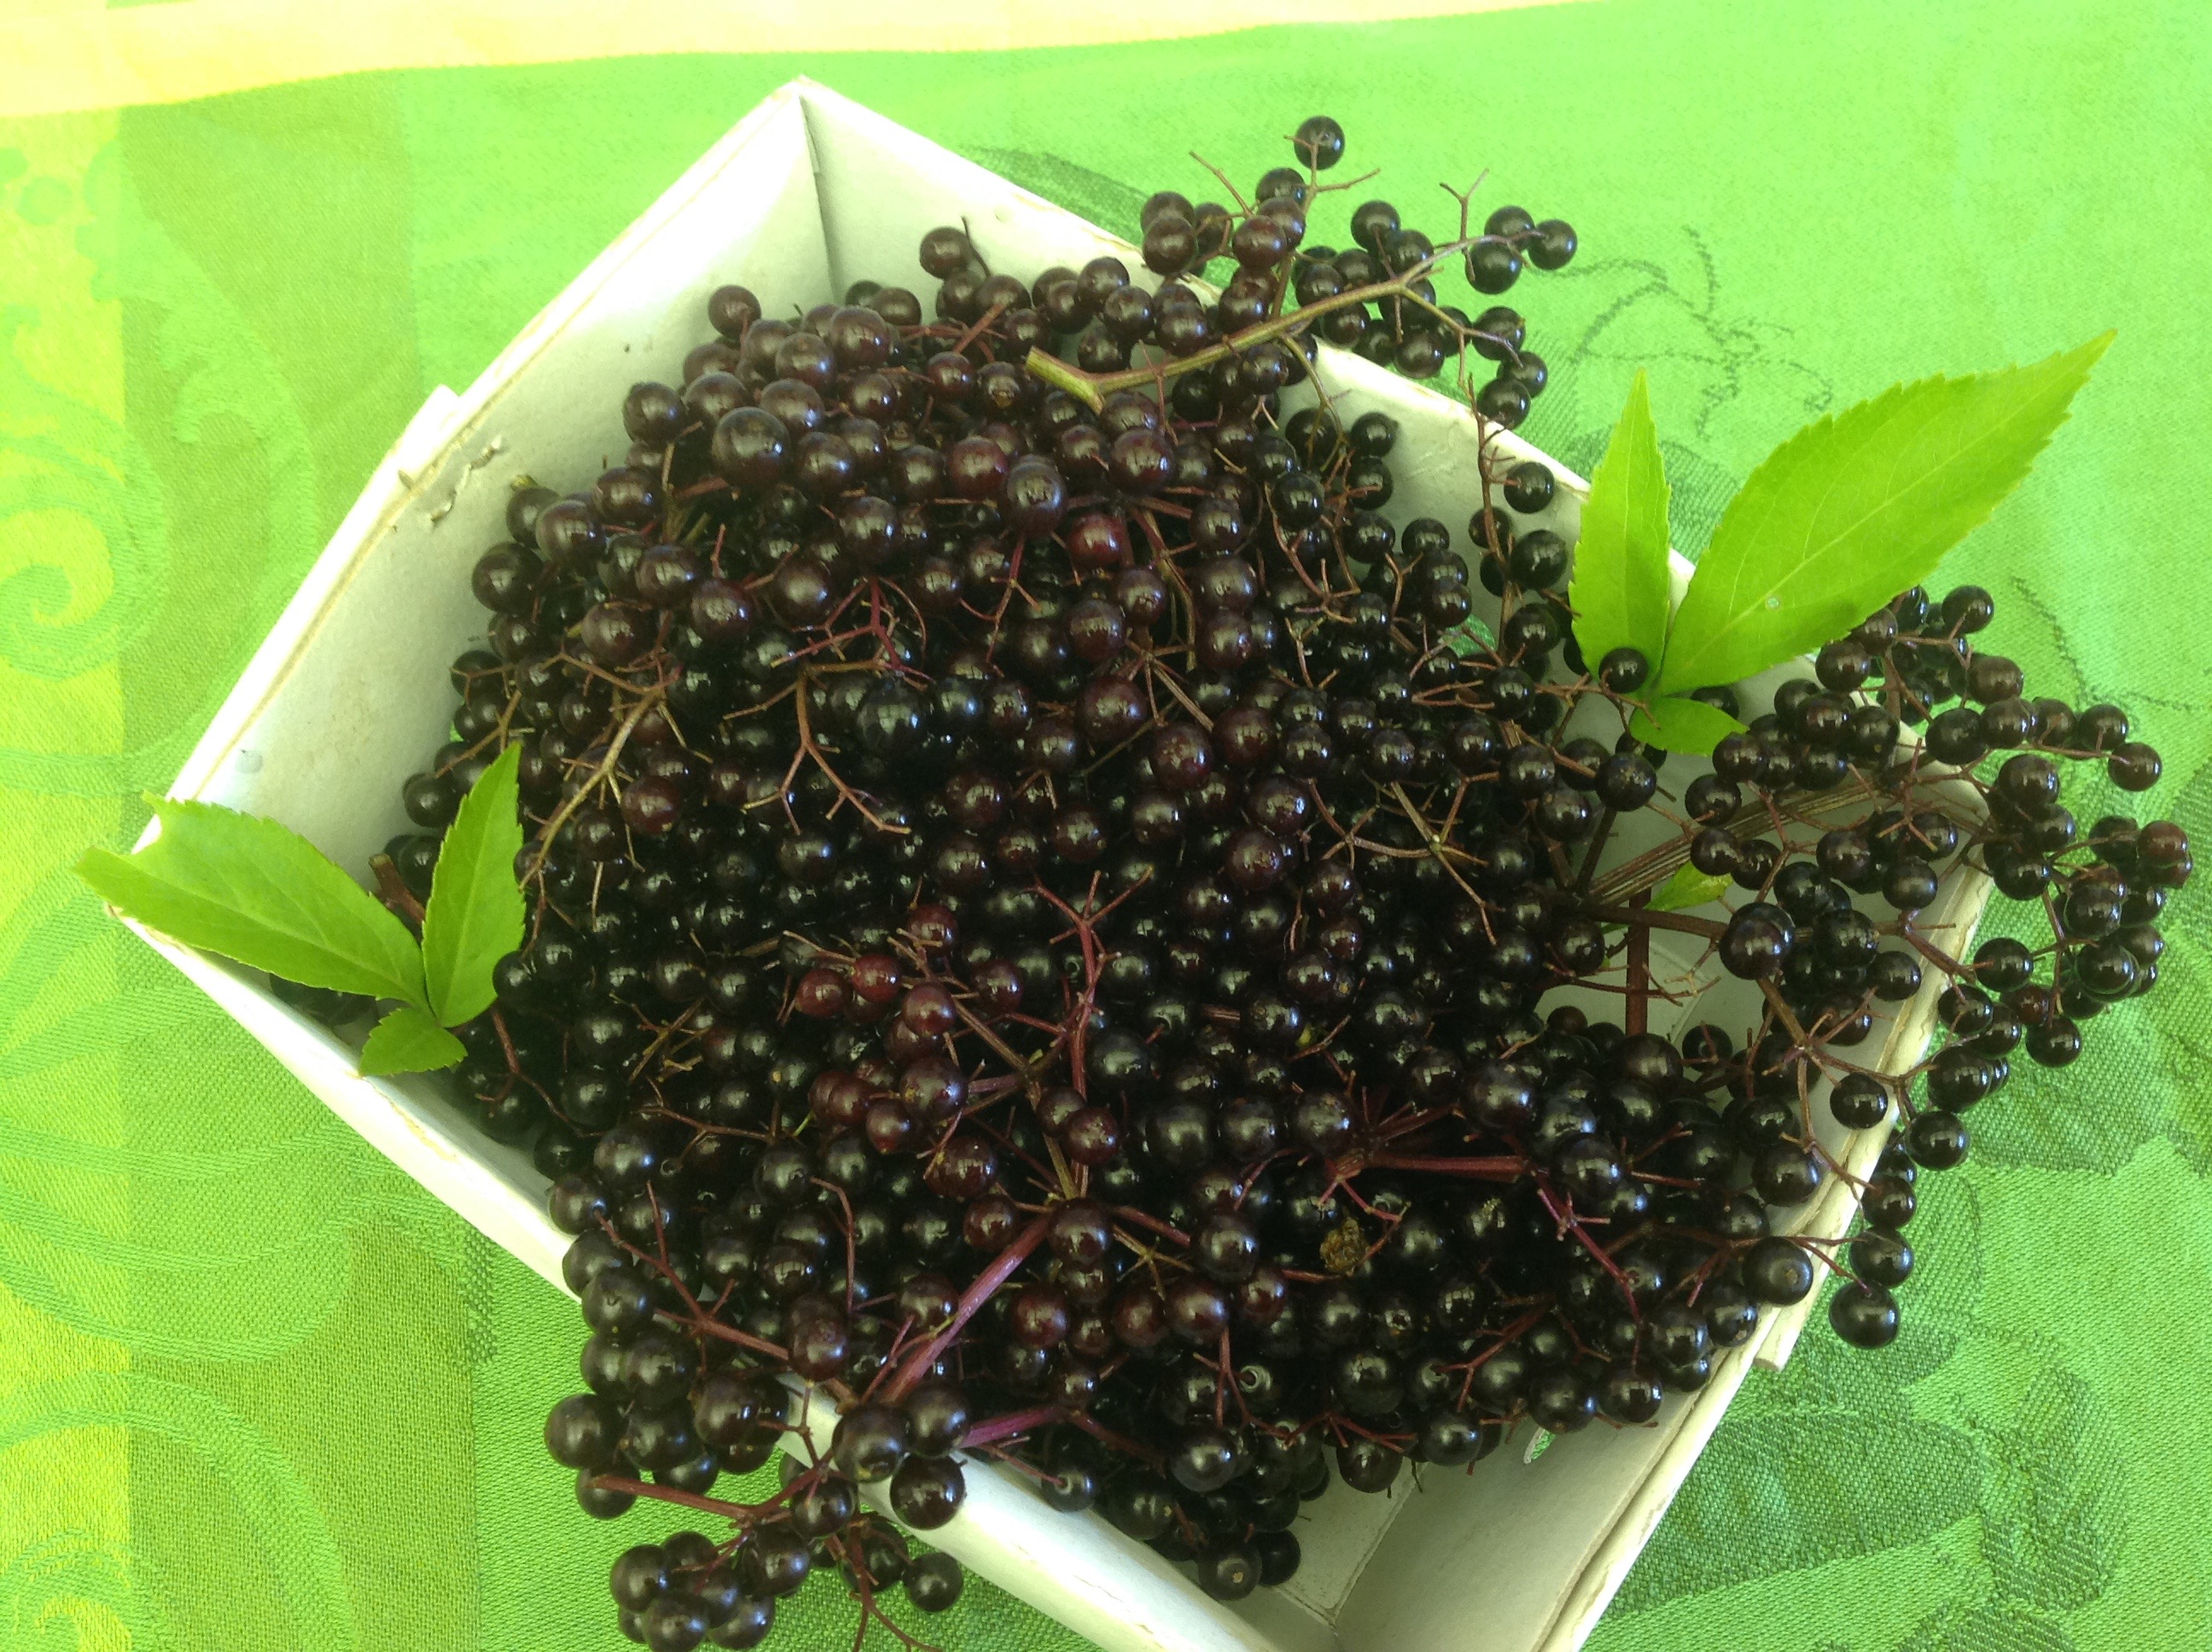
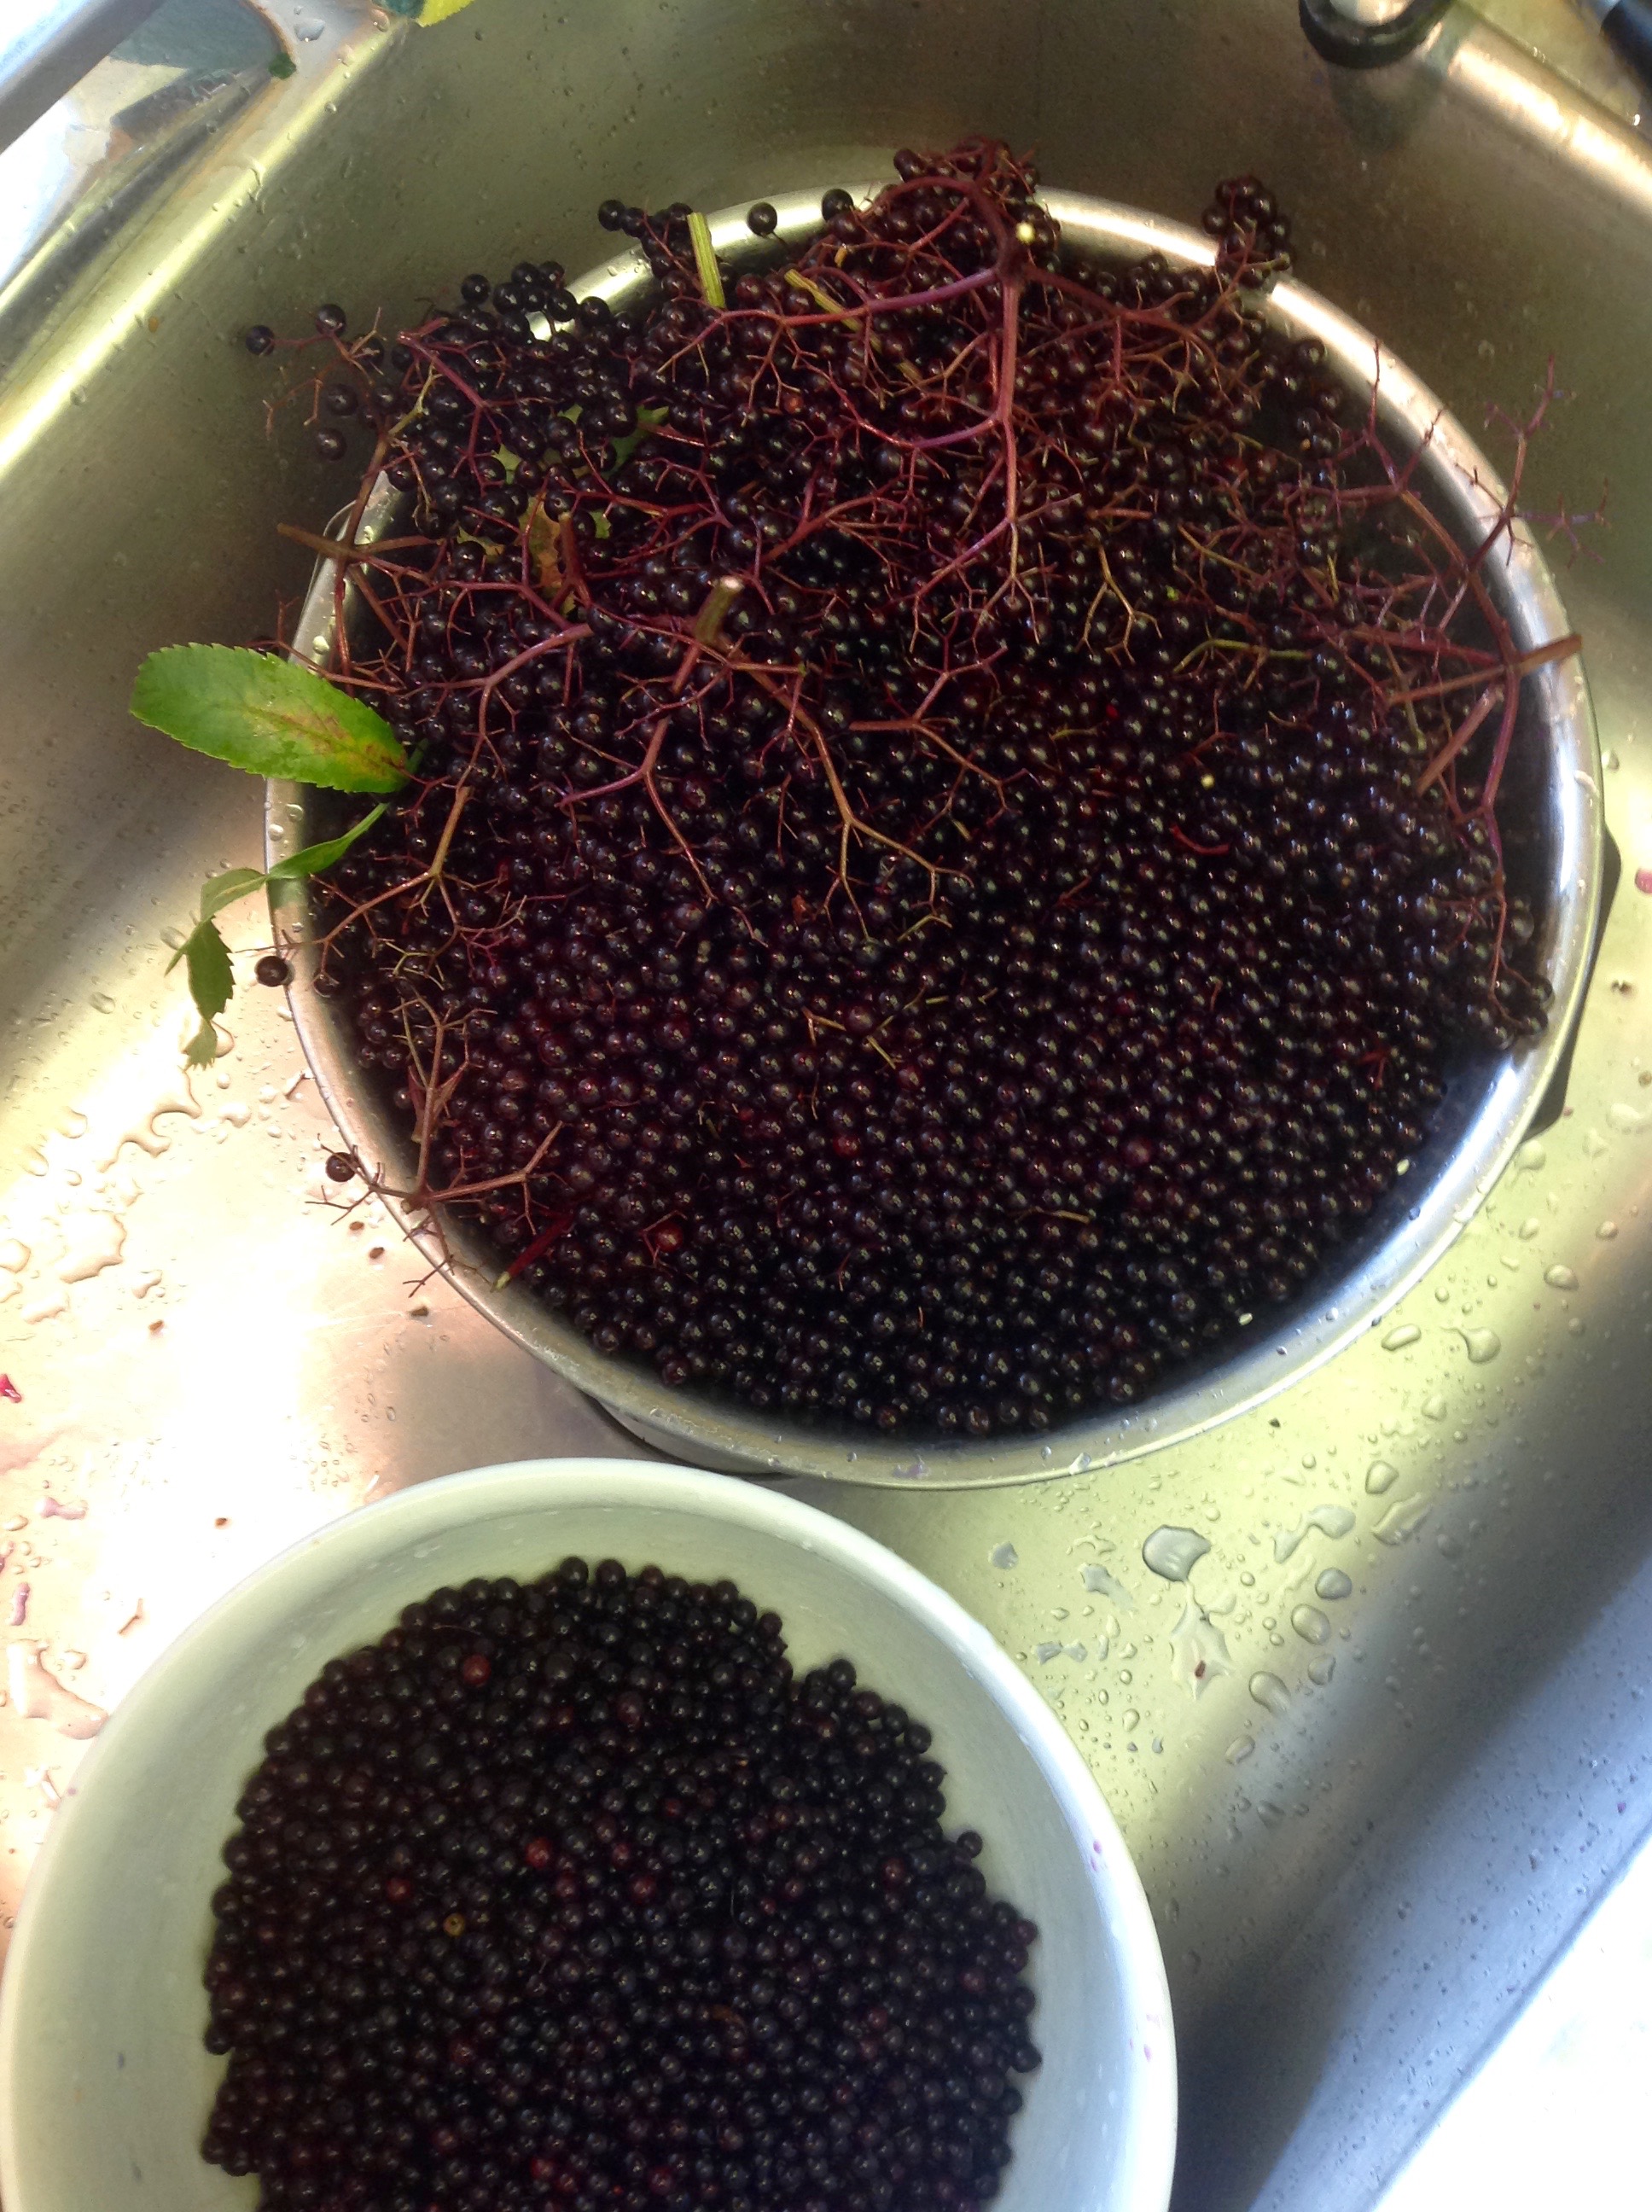
Elder, a plant that has been cherished for centuries, grows throughout Europe and the US. Elderberries are the dark purple berries of the elder plant (which come toward the end of summer) resulting from elderflowers (which come at the beginning of summer). Elderberry and elderberry flower hold a wealth of nutritional benefits that can contribute to your well-being. While other parts of the plant are used in folk medicine, there are some compounds that must be cooked or otherwise processed to be broken down to make it safe to consume. So, if you are just getting to know elder, sticking with the berries and flowers is the most pleasant way to go.
Ready for the deets? Here they come.
Rich in Nutrients
Elderberry, scientifically known as Sambucus nigra, is a powerhouse of essential nutrients. It’s loaded with vitamins, minerals, and antioxidants that can boost your overall health. Some of its prominent nutritional components include vitamin C, dietary fiber, and potent antioxidants like quercetin and anthocyanins. These compounds play a crucial role in enhancing your immune system, reducing inflammation and related cellular and tissue damage, and protecting against a range of ailments.
Antioxidant Power
The anthocyanins in elderberries give them their deep, rich color and also provide a significant source of antioxidants. Antioxidants have the ability to vacuum up free radicals (naturally occurring byproducts of metabolism). That’s how they reduce risk of oxidative stress and inflammation. What are these processes we hear so much about? Here’s a quick overview.
Oxidative stress is an imbalance of stressors and clearer of those stressors. Free radicals, also known as highly oxygenated species, are a natural byproduct of metabolism but also increase with a high chemical load lifestyle. What’s that? Too much alcohol, refined sugar, chemical-laden ultra-process food, high levels of sodium, and high levels of calories. When your body isn’t removing enough free radicals (or creating more than you can clear) to maintain balance, over time this can damage tissue and cells – and increase your risk for chronic diseases like heart disease, diabetes, and cancer.
Happily, you can do quite a bit nutritionally to clear the stress of free radicals. A nutrient-dense diet, especially in combination with gentle movement and constructive rest, help to cool inflammation (an immune response to infection or injury) in the body. So, eating antioxidant-rich foods reduces the risk of chronic diseases, such as heart disease and cancer, by helping to decrease inflammation. In this and other ways, including elderberries in your diet can contribute to a longer, healthier life.
Immune Support
One of the most well-studied benefits of elderberry is its immune-boosting properties. The high concentration of vitamin C and antioxidants can help your body ward off or minimize infections and other illnesses, making it an excellent choice for staying healthy during cold and flu seasons. Elderberry has been a popular natural remedy for generations, offering a gentle, safe, and effective complement to over-the-counter medicines.
Respiratory Health
Elderberry has been found to be particularly beneficial for respiratory health. It can help alleviate symptoms of respiratory infections and allergies, making it a valuable resource for those with asthma, bronchitis, or sinusitis. The anti-inflammatory and antiviral properties of elderberry make it a natural ally against a range of respiratory conditions.
Digestive Aid
The dietary fiber and phytochemistry in elderberries supports a healthy digestive system. It helps regulate bowel movements, prevents constipation, and promotes the growth of beneficial gut bacteria. Elderberry can be a gentle yet effective way to maintain digestive well-being, and its natural sweetness adds a pleasant flavor to your meals and beverages.
This post contains affiliate links. If you purchase through an affiliate link, I may receive a small commission at no additional cost to you. Thank you. You can read my full disclaimer here.
Incorporate Elderberry into your Life
Supplements & Health Products
I like to use elderberry syrups and lozenges, but you can find a range of supplements (there are over 200 elderberry products in my Fullscript formulary). Here are a couple interesting products that may help you through the fall and winter.
My Fullscript formulary provides you high-quality supplements at excellent prices, and free shipping on orders over $50. When you click on one of these products, you’ll be asked to create an account, then you’ll be directed to the product.
.
.
.
The Culinary World of Elderberry
Elderberry adds a unique flavor to a variety of recipes. From jams and syrups to desserts and beverages, elderberry is a versatile and delicious addition to your kitchen repertoire. Use elderberry how you’d use any tart berry.
Consider trying out these culinary uses:
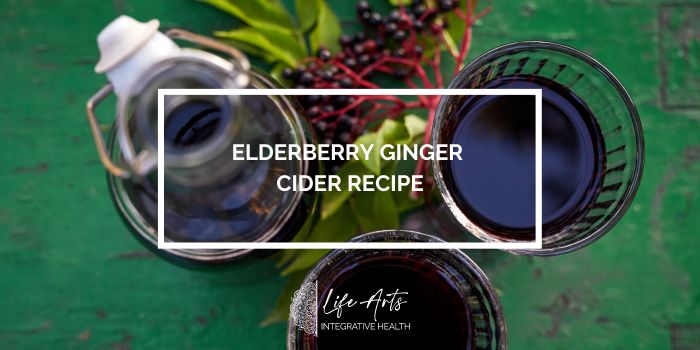
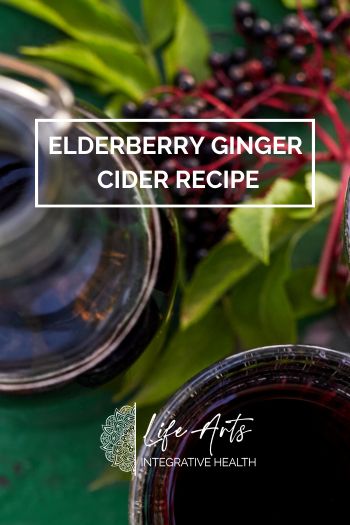
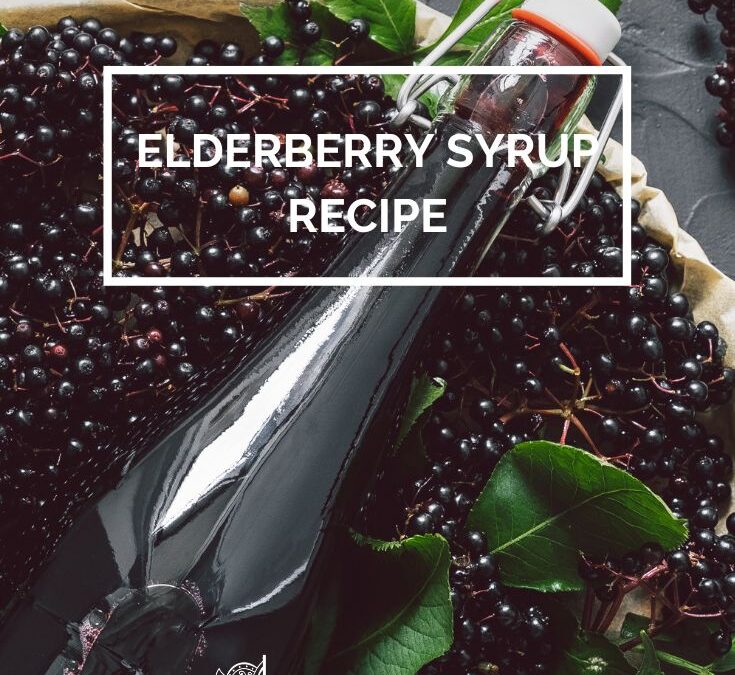
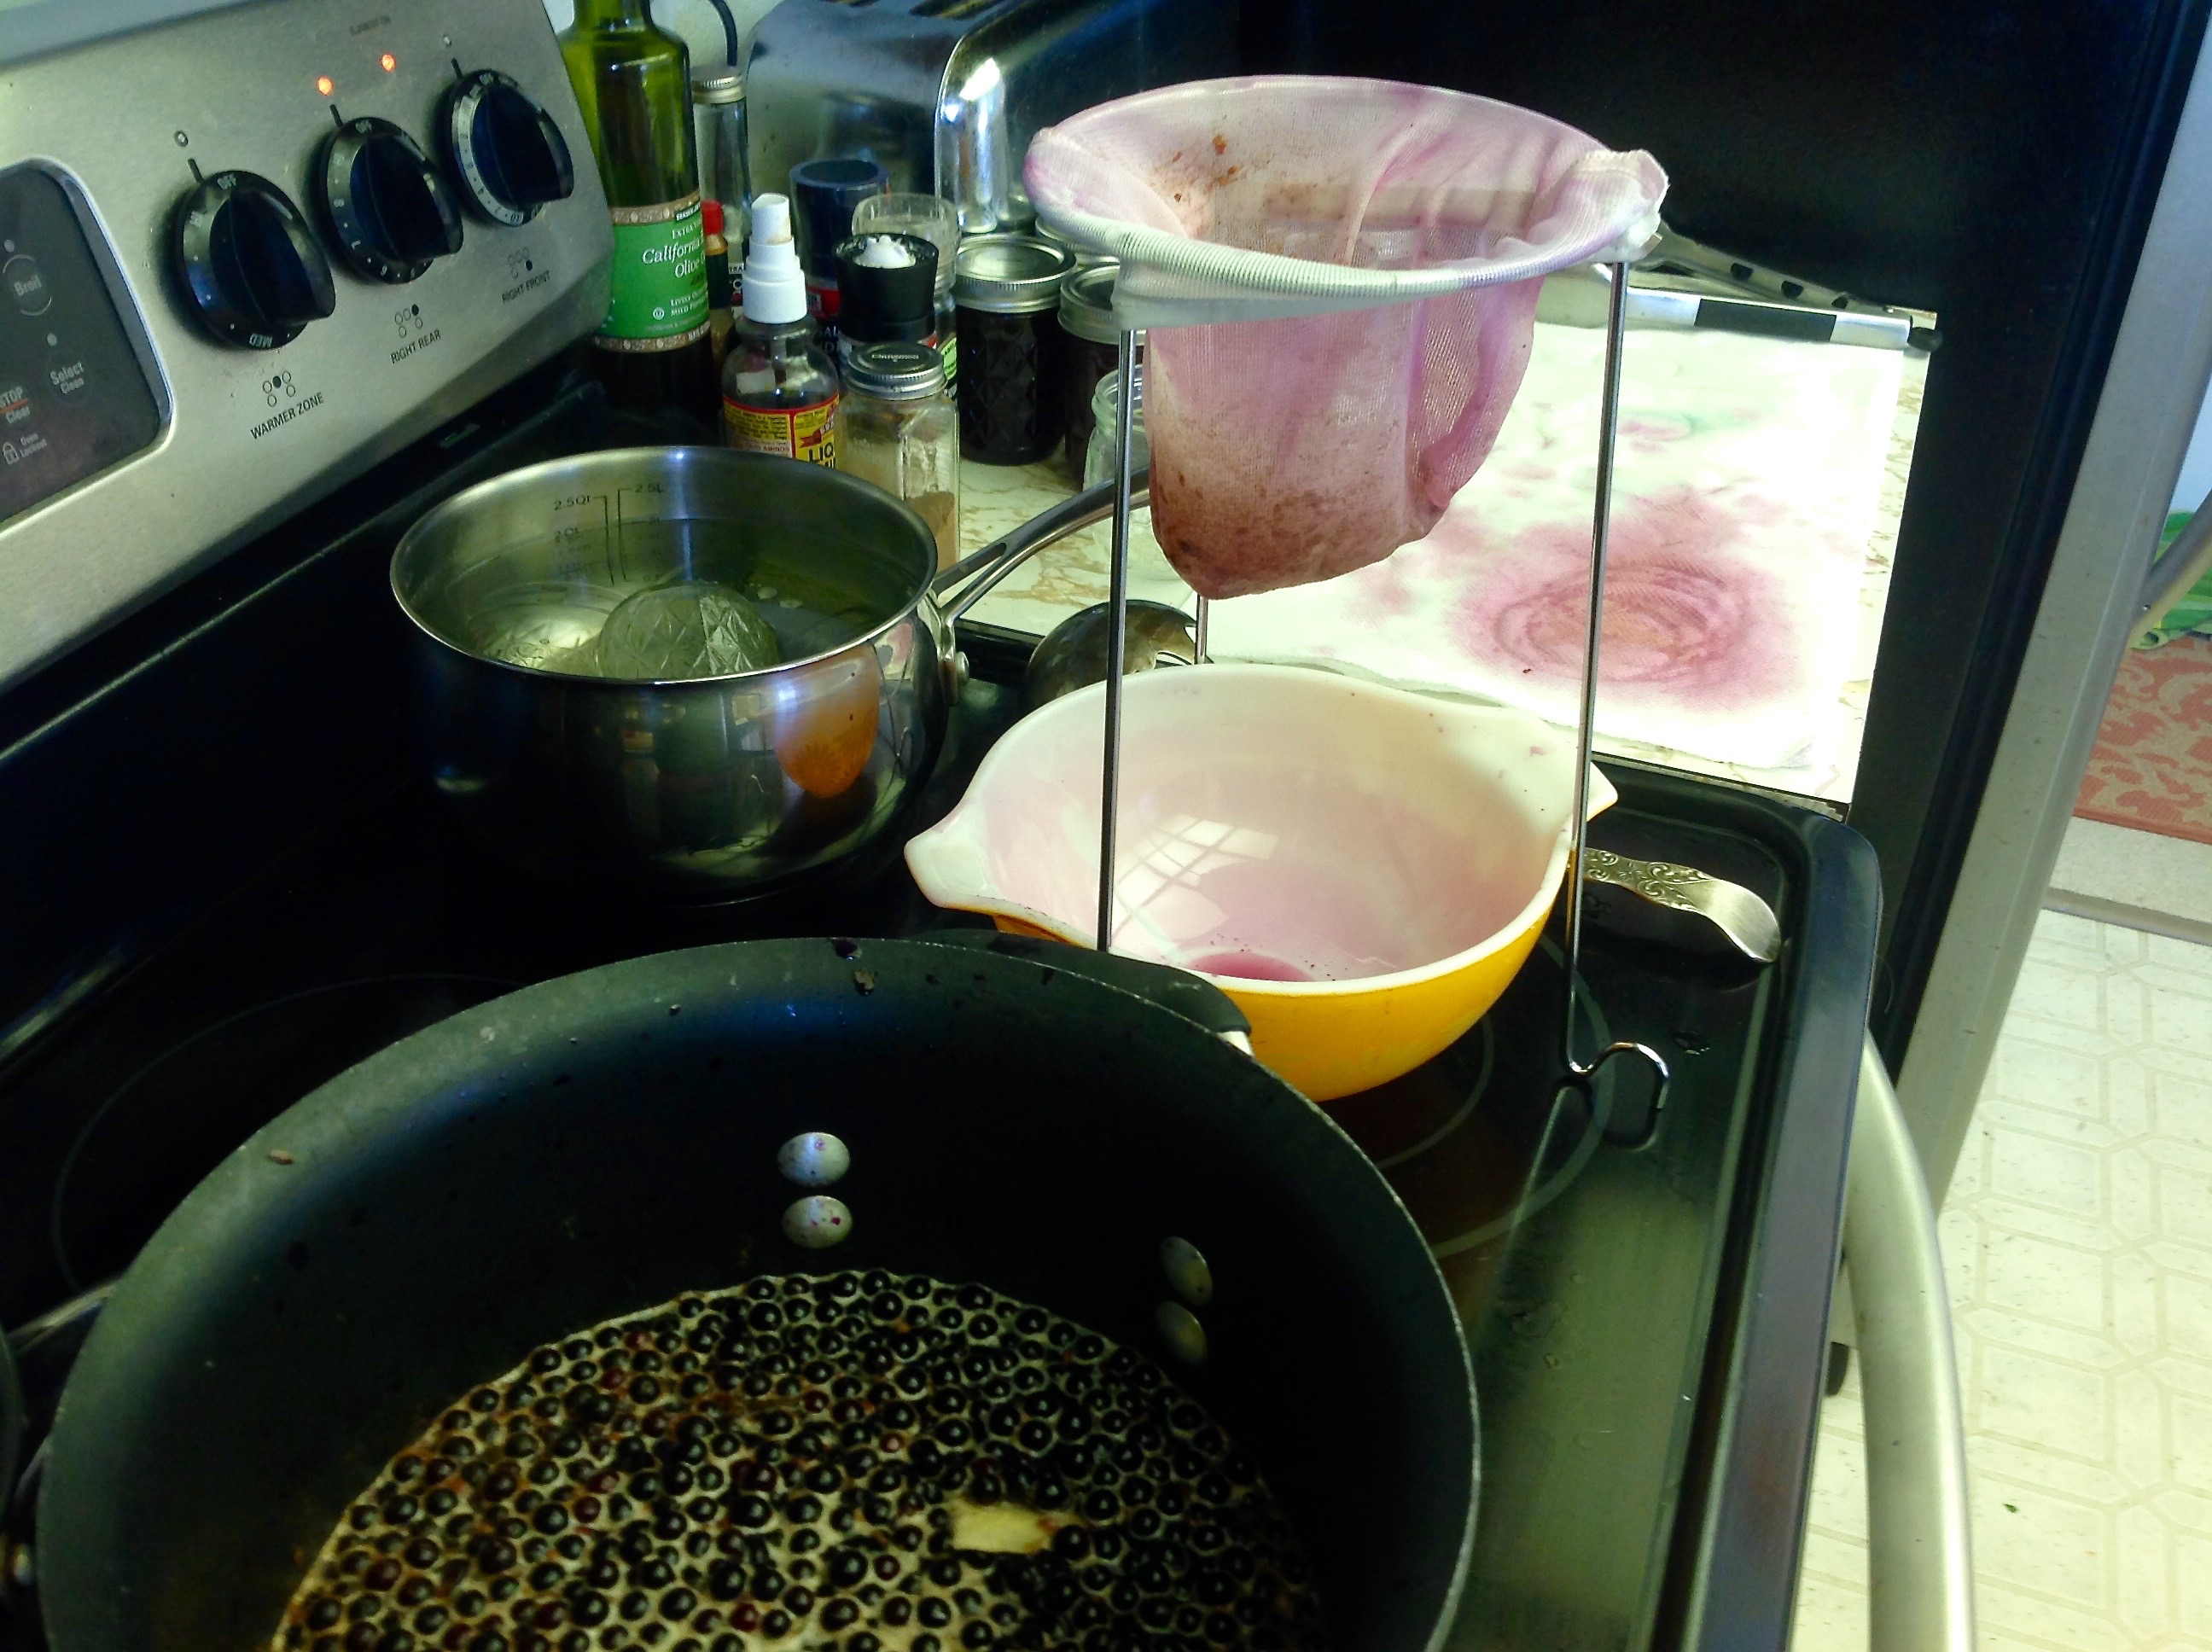
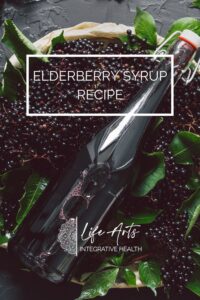
- Elderberry Jam or syrup: Create a luscious jam by combining elderberries with sugar and a touch of lemon juice. Spread it on toast or use it as a delightful topping for desserts. Whip up a homemade elderberry syrup that can be drizzled over pancakes, waffles, or even mixed into cocktails. This sweet and tangy syrup is not only delicious but also packs a nutritional punch. Here’s my elderberry syrup recipe.
- Elderberry Desserts: Incorporate elderberries into desserts like pies, tarts, or muffins for a unique twist. The rich, fruity flavor of elderberries adds depth and complexity to your favorite sweet treats.
Elderberry Flower Essence in the Kitchen
While elderberry flower essence is primarily known for its emotional and spiritual benefits, its subtle floral notes can also enhance culinary creations. Consider the following ways to infuse your kitchen with the essence of elderberry flowers:
- Elderflower Cordial: Capture the essence of elderberry flowers by making a refreshing elderflower cordial. Mix it with water, sparkling water, or use it as a base for cocktails and mocktails.
- Elderflower Infusions: Experiment with elderflower infusions (letting the flower steep in hot water for 5-10 minutes) in beverages like teas or lemonades. The delicate floral aroma can uplift your spirits and add a touch of elegance to your drinks.
- Elderflower Desserts: Just like elderberries, elderflower essence can be incorporated into desserts. Try adding it to frostings, glazes, or even infusing it into creams for a subtle floral undertone.
Culinary Creativity Tips
- Balancing Flavors: Elderberries have a naturally tart taste, so balancing them with sweeteners like honey or fruit juice is key. Experiment with different ratios to find the perfect harmony of flavors.
- Pairing Possibilities: Elderberry pairs well with a range of ingredients. Consider combining it with citrus fruits, cinnamon, fresh ginger or even savory elements like balsamic vinegar for a unique culinary experience.
- Preserving Goodness: If you’re lucky enough to have access to fresh elderberries or elderberry flowers, consider preserving their goodness by making jams, syrups, or infusions. This allows you to enjoy the benefits of elderberry all year round.
By exploring the culinary uses of elderberry and elderberry flower essence, you not only add a delightful twist to your meals but also unlock a new dimension of wellness through the rich flavors and nutritional benefits these gifts of nature bring to your table.

Essence of Elderberry Flowers
What’s a Flower Essence?
While elderberry has long been appreciated for its numerous health benefits, its blossoms often remain in the shadows, even though they hold their own unique treasure – elderberry flower essence. This essence is created by capturing the energetic imprint of elderberry flowers in pure water and has been used in traditional and holistic healing practices for ages.
Elderberry Flower Essence
Elderberry flower essence is believed to work on a different plane compared to the physical attributes of elderberries. It is thought to have a profound impact on energetic, emotional and spiritual well-being. This subtle elixir is often used as a form of plant initiation, connecting individuals to the wisdom of elderberry and nature itself.
Benefits of Elderberry Flower Essence
Emotional Balance
Elderberry flower essence is recognized for its ability to promote emotional balance and harmony. It can help you navigate through life’s ups and downs, providing a sense of calm and resilience. Whether you’re dealing with stress, anxiety, or grief, this essence can offer solace and support.
Spiritual Connection
Elderberry flower essence is often utilized to deepen one’s spiritual connection. It’s believed to open doors to higher consciousness and enhance intuition. For those on a journey of self-discovery and spiritual growth, elderberry flower essence can be a valuable companion.
Protection and Boundaries
Elderberry flower essence is thought to create a protective energetic shield around individuals, helping them establish healthy boundaries. This can be particularly beneficial for those who struggle with maintaining personal space and emotional boundaries in their relationships.
Encouraging Self-Expression
The essence of elderberry flowers is associated with encouraging authentic self-expression. It can support individuals in finding their voice, embracing their uniqueness, and confidently sharing their thoughts and feelings with the world.
Alignment with Nature
One of the most captivating aspects of elderberry flower essence is its ability to connect individuals with the wisdom of nature. As a part of the plant initiation experience, it invites us to slow down, observe, and become more attuned to the natural world around us. This connection can be profoundly transformative, nurturing a deeper respect and reverence for the environment.
The Plant Initiation Experience
Plant initiation is a unique and ancient practice that involves connecting with a specific plant on a spiritual and energetic level. It’s a way of forming a deep and reciprocal relationship with a plant, allowing you to tap into its wisdom, guidance, and healing properties. Elderberry flower essence is often chosen for plant initiation due to its gentle and nurturing energy.
Plants Help, Plants Heal – Elderberry and Flower Essence
Elderberry and elderberry flower essence offer an array of health benefits, from strengthening your immune system to enhancing emotional and spiritual well-being. The subtle, yet profound influence of elderberry flower essence in particular can guide you on a journey of self-discovery and connection with the natural world.
In a fast-paced world filled with distractions, embracing the wisdom of elderberry and elderberry flower essence can be a transformative experience. It allows us to reconnect with the healing power of nature, fostering physical and emotional well-being while encouraging spiritual growth. As you consider a plant initiation with elderberry flower essence, you embark on a path of deeper understanding and harmony with the world around you. Let the wisdom of elderberry and its blossoms be your guide as you explore the limitless benefits of this extraordinary plant.
So, whether you’re sipping elderberry tea to boost your immune system or embarking on a journey of self-discovery with me and elderberry flower essence, these ancient treasures of nature can enhance your physical health, delight your palate, and enrich your spiritual life. Elder is medicine for our times, and I hope we explore it together.
Sources
Luo W, Han S, et al. Assessing the suitability and dynamics of three medicinal Sambucus species in China under current and future climate scenarios. Front Plant Sci. 2023 Oct 19;14:1194444. doi: 10.3389/fpls.2023.1194444. PMID: 37929169; PMCID: PMC10620941.
Cicek B, Danısman B, et al. Flavonoid-Rich Sambucus nigra Berry Extract Enhances Nrf2/HO-1 Signaling Pathway Activation and Exerts Antiulcerative Effects In Vivo. Int J Mol Sci. 2023 Oct 23;24(20):15486. doi: 10.3390/ijms242015486. PMID: 37895164; PMCID: PMC10607857.
Sala G, Pasta S, Maggio A, La Mantia T. Sambucus nigra L. (fam. Viburnaceae) in Sicily: Distribution, Ecology, Traditional Use and Therapeutic Properties. Plants (Basel). 2023 Sep 30;12(19):3457. doi: 10.3390/plants12193457. PMID: 37836198; PMCID: PMC10575429.


